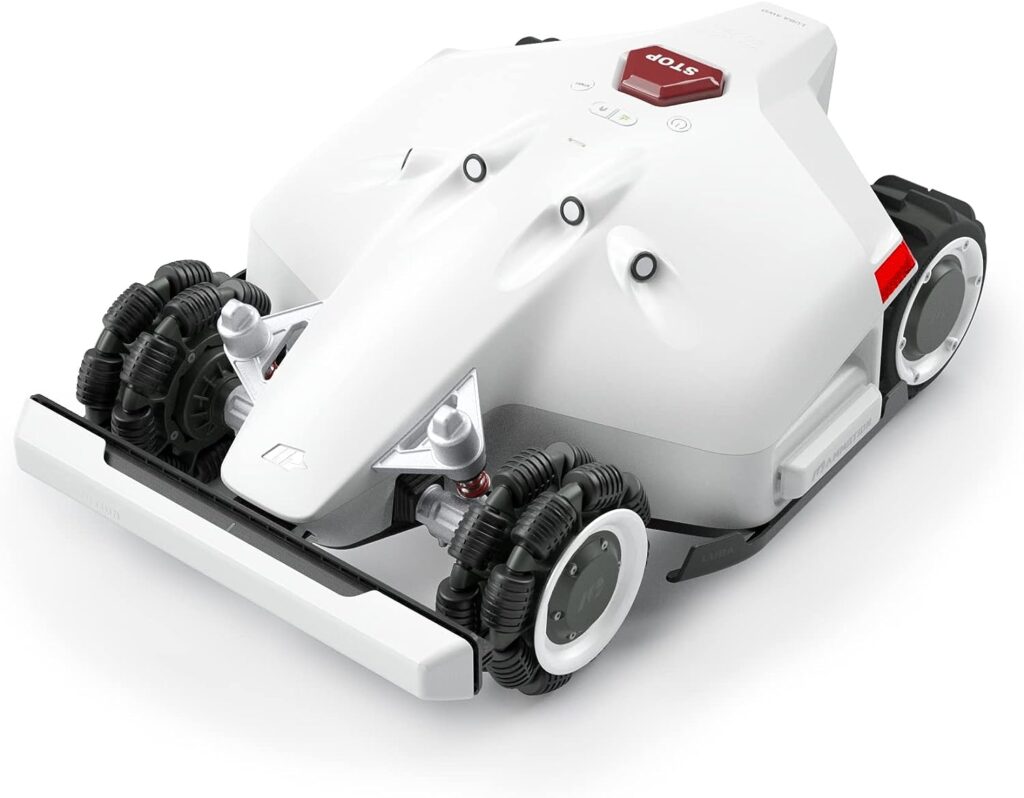
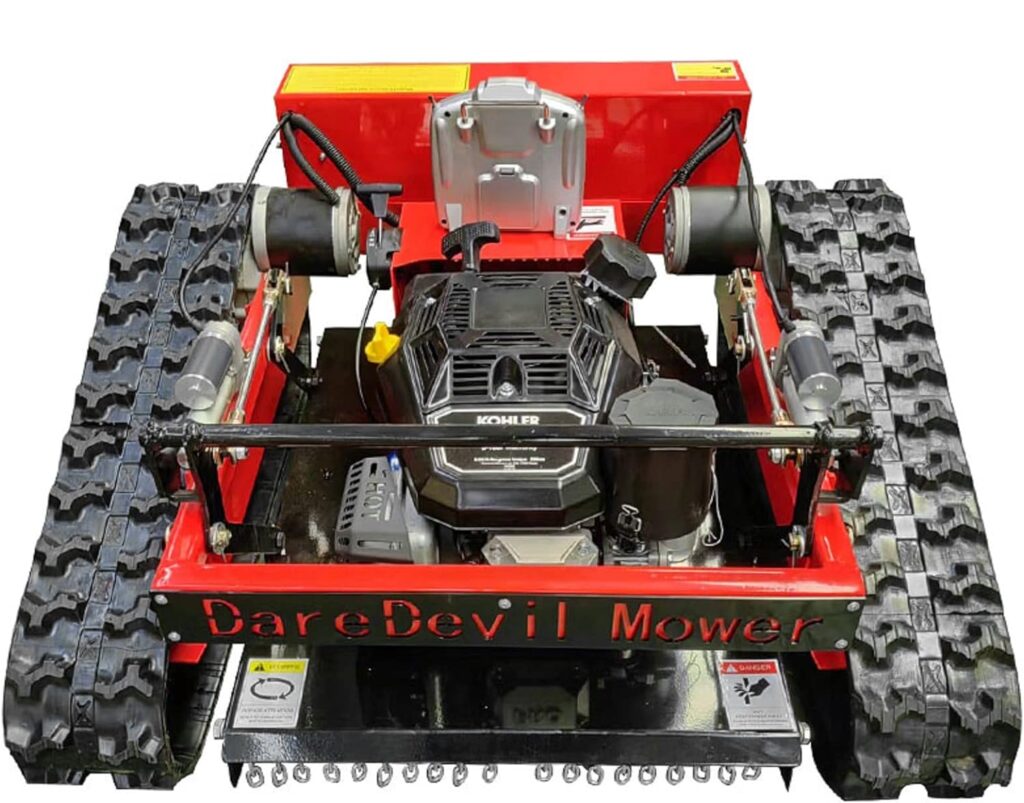
So you’re thinking about getting a robotic lawnmower, huh?
Well, you’ve come to the right place! In this article, we’ll be giving you a comprehensive overview of how to install a robot lawnmower.
Whether you’re a first-time shopper just beginning your research or you’re already familiar with these nifty devices and want to brush up on installation techniques, we’ve got you covered.
Choosing the Right Robotic Lawn Mower
Are you tired of spending hours every week mowing your lawn?
Is it time to upgrade to a more efficient and time-saving solution?
With advances in technology, robot lawnmowers have become increasingly popular for homeowners looking for an effortless way to maintain their lawns.
But with so many options available in the market, how do you choose the right one for your needs?
In this comprehensive guide, we will walk you through the various factors to consider when selecting a robot lawnmower, the different types available, and budget and cost considerations to keep in mind.

Factors to Consider
Before delving into the different types of robot lawnmowers, it’s essential to understand the factors you should consider when making your decision. These factors will help you choose a robot lawnmower that is perfectly suited to your specific requirements. Here are a few key considerations:
- Lawn size: The size of your lawn is one of the most critical factors to consider. Different robot lawnmowers have different cutting capacities and are designed for specific lawn sizes. Make sure to measure your lawn’s dimensions to ensure you choose a robot lawnmower that can effectively cover the entire area.
- Terrain and slopes: If your lawn has uneven terrain or steep slopes, it’s essential to select a robot lawnmower with the necessary features to handle these challenges. Some models come equipped with specialized wheels or sensors that enable them to navigate slopes without any issues.
- Grass type: The type of grass you have can also impact your choice of robot lawnmower. Some models are better suited for certain grass types, so it’s crucial to consider this factor to ensure optimal cutting performance.
- Additional features: Robot lawnmowers come with a range of additional features, such as automatic scheduling, remote control, smartphone app integration, rain sensors, and more. Determine which features are important to you and will enhance your overall lawn maintenance experience.
By keeping these factors in mind, you can make a well-informed decision when choosing the right robot lawnmower for your needs.
Types of Robotic Lawn Mowers
When it comes to different types of robot lawnmowers, there are primarily two variations: random navigation and systematic navigation.
- Random Navigation: Random navigation robot lawnmowers rely on a bump-and-reverse method to avoid obstacles and mow the lawn. These models do not follow any specific pattern and may require more time to cover the entire lawn. However, they are often more affordable and are suitable for smaller lawns with simple layouts.
- Systematic Navigation: Systematic navigation robot lawnmowers follow a specific pattern or grid to efficiently cover every inch of your lawn. These models utilize advanced sensors and software to navigate obstacles and provide a more consistent mowing experience. While they may come at a higher cost, they are perfect for larger lawns or more complex layouts.
Consider the size and layout of your lawn, as well as your budget, when choosing between random navigation and systematic navigation robot lawnmowers.
Budget and Cost Considerations
Robot lawnmowers come in a wide range of prices, so it’s crucial to determine your budget before making a purchase. Keep in mind that the price of a robot lawnmower can vary based on factors such as cutting capacity, additional features, brand reputation, and warranty.
While it may be tempting to opt for a cheaper model, it’s essential to find a balance between cost and quality. Investing in a high-quality robot lawnmower may initially require a larger upfront investment but can save you money in the long run with its durability and efficient performance.
Additionally, consider the cost of replacement parts, such as blades and batteries, as these may need to be replaced periodically. It’s also worth checking if the manufacturer offers any warranty or after-sales support, as this can provide you with peace of mind and protect your investment.
By carefully considering your budget and cost considerations, you can choose a robot lawnmower that offers excellent value for money while meeting all your lawn maintenance needs.
Preparing Your Lawn for Installation
Now that you have chosen the perfect robot lawnmower for your lawn, it’s time to prepare your yard for its installation. Proper preparation will ensure a smooth installation process and optimal performance of your robot lawnmower. Let’s explore the necessary steps to get your lawn ready.
Lawn Inspection
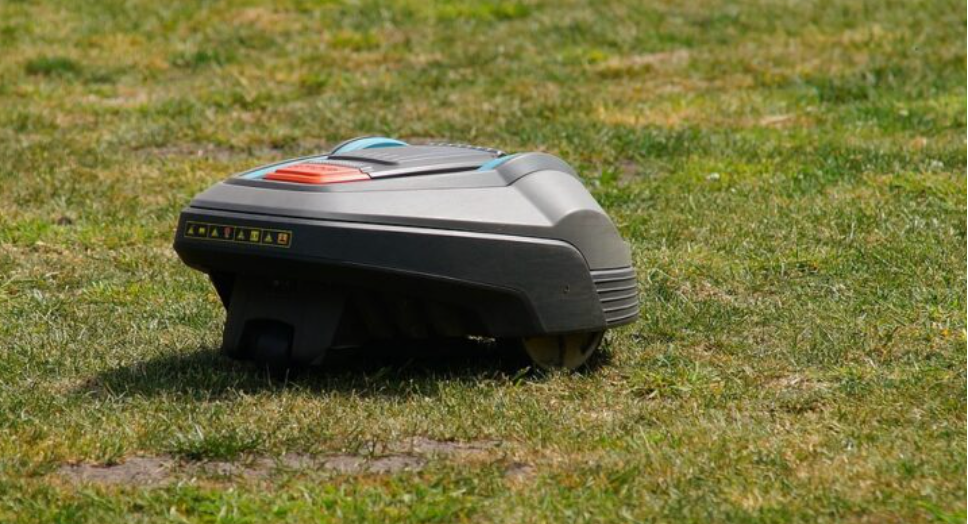
Start by inspecting your lawn to identify any potential issues or areas that may need attention before installing the robot lawnmower. Look for uneven terrain, slopes, loose branches, or debris that could obstruct the mower’s path. Take note of any landscaping features like flower beds, trees, or fences that will require special consideration during installation.
Clearing Obstacles
Once you have completed the lawn inspection, begin clearing any obstacles that could hinder the robot lawnmower’s movement. Remove any rocks, toys, hoses, or other objects that could get in the way. Trim overhanging branches or plants that could interfere with the mower’s cutting path.
It’s also important to be aware of any irrigation systems or wiring that may need to be marked or adjusted to avoid damage during the installation process.
Marking Boundaries
Before proceeding with the installation, mark the boundaries of your lawn with the provided boundary markers or flags. These markers will guide the robot lawnmower and help define the cutting area. Ensure the markers are well-positioned to provide clear boundaries that allow the robot lawnmower to navigate your lawn effectively.
By carefully inspecting your lawn, clearing obstacles, and marking boundaries, you can ensure a seamless installation process and set the stage for your robot lawnmower to operate efficiently.
Setting Up the Charging Station
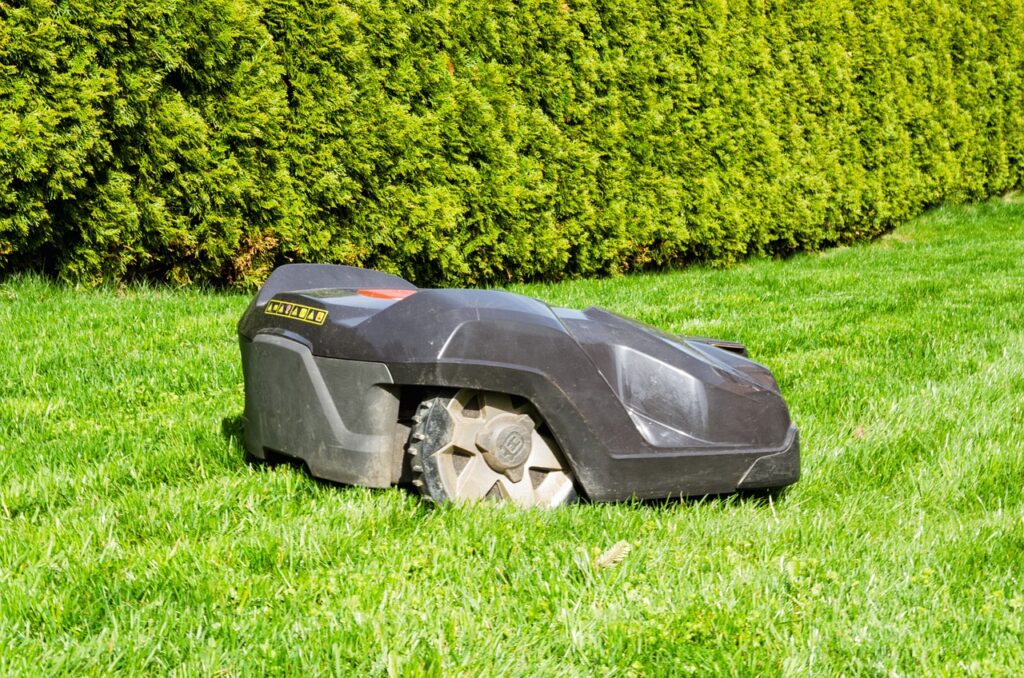
The charging station is a crucial component of your robot lawnmower system. It is where the mower automatically returns to recharge its battery before resuming its mowing schedule. Proper installation of the charging station is essential to ensure convenient and hassle-free operation. Let’s walk through the steps involved in setting up the charging station.
Choosing the Ideal Location
Selecting the right location for your charging station is key. Here are a few considerations to keep in mind:
- Accessibility: Choose a location that is easily accessible to the robot lawnmower. Ensure that it has a clear and unobstructed path for the mower to enter and exit.
- Power outlet proximity: The charging station needs to be located near a power outlet to connect the charger. Make sure the station is within reach of an outdoor power source.
- Weather protection: Consider placing the charging station in a location that offers some protection from the elements, such as a covered spot or near the side of your house.
Installing the Base Station
Once you have identified the ideal location, proceed with installing the base station. Follow the manufacturer’s instructions provided with your specific model, as the installation process may vary slightly. Here are general guidelines to help you through the process:
- Prepare the area: Clear the installation area of any debris or obstructions.
- Secure the base station: Use the provided screws or mounting hardware to secure the base station to the ground or a solid surface. Ensure it is level and stable.
- Connect the power: Plug the charging station’s power adapter into the nearest outdoor power outlet. Confirm that the outlet is suitable for outdoor use and provides the necessary voltage.
- Test the connection: Once the charging station is connected to power, check that the charging indicator light is activated. This ensures that the base station is receiving power and ready to charge the robot lawnmower.
By carefully choosing the location of the charging station and following the installation instructions, you can establish a reliable and efficient charging setup for your robot lawnmower.
Installation of Perimeter Wire
The perimeter wire is a crucial component that helps the robot lawnmower stay within the boundaries of your lawn. It acts as a virtual fence, guiding the mower along the desired cutting area.
Proper installation of the perimeter wire is essential to ensure accurate navigation and prevent the robot lawnmower from straying into unwanted areas. Let’s walk through the steps involved in installing the perimeter wire.
Planning the Wire Layout
Before installing the perimeter wire, devise a plan for its placement. Consider the shape and size of your lawn, as well as any landscaping features or obstacles that require special attention.
When planning the wire, keep these guidelines in mind:
- Boundaries: Determine the boundaries within which you want the robot lawnmower to operate. This can be marked by the boundary markers or flags placed during the lawn preparation stage.
- Obstacles: Identify any obstacles, trees, flower beds, or other features that you want the robot lawnmower to navigate around. Plan the wire layout to accommodate these obstacles and ensure they are not included within the cutting area.
- Zones: If your lawn has multiple zones or separate areas, plan the wire layout accordingly. This will allow the robot lawnmower to effectively navigate and mow each zone, without crossing into unwanted areas.
By carefully planning the wire layout, you can ensure optimal performance and efficient mowing of your entire lawn.
Fixing the Wire in Place
Once you have planned the wire layout, proceed with fixing the perimeter wire in place. Here’s how to do it:
- Digging trenches: Use a spade or edging tool to dig shallow trenches along the planned wire path. These trenches will house the perimeter wire, keeping it secure and protected.
- Inserting the wire: Place the wire into the trenches, making sure to maintain the planned path and avoid any sharp bends or kinks. Maintain a consistent depth throughout the trenches to prevent the wire from getting damaged.
- Securing the wire: Use pegs or staples provided with the robot lawnmower kit to secure the wire in place along the trenches. Insert them at regular intervals to keep the wire firmly in position.
- Crossing points: If the wire needs to cross paths or sections, make sure to elevate it using included clips or hooks. This prevents the robot lawnmower from cutting or damaging the wire during operation.
By securely fixing the perimeter wire in place, you can ensure that the robot lawnmower follows the desired cutting area, providing a well-maintained lawn every time.
Connecting the Wire to Base Station
With the perimeter wire installed, the final step is to connect it to the base station. This connection allows the robot lawnmower to understand the boundaries and ensures it operates within the predefined cutting area. Follow these steps to connect the wire to the base station:
- Wire ends: Locate the two wire ends near the base station. These ends are typically labeled or color-coded for easy identification.
- Strip the wire: Strip a small section of the wire insulation to expose the underlying metal. This will allow you to connect the wire to the base station securely.
- Terminal connections: Depending on your robot lawnmower model, the wire ends may need to be connected to specific terminals on the base station. Refer to the manufacturer’s instructions for your particular model and follow their guidelines to make the connections.
- Confirm the connection: Once the wire ends are connected, ensure they are securely fastened to the base station. Test the robot lawnmower by setting it on its charging station and initiating a test run. Observe if it stays within the predefined cutting area and adjusts the wire as needed.
By connecting the perimeter wire to the base station correctly, you can enable smooth navigation for your robot lawnmower and ensure it stays within the desired boundaries.
Programming and Adjusting the Settings
After setting up the physical components of your robot lawnmower system, it’s time to delve into the programming and settings to optimize its performance. Customizing the settings allows you to tailor the operation of the robot lawnmower to your specific lawn maintenance needs. Let’s explore some essential programming and adjustment options.
Setting the Safety Features
Ensuring the safety of your family, pets, and the mower itself is of utmost importance when programming your robot lawnmower. Most modern robot lawnmowers come equipped with advanced safety features to minimize accidents and prevent damage. Here are a few key safety features to consider:
- Lift and tilt sensors: These sensors detect any lifting or tilting of the mower, automatically shutting off the blades. This prevents potential injuries and damage if the mower is accidentally lifted or tipped.
- Collision sensors: Collision sensors detect obstacles in the mower’s path and change its direction to avoid any potential accidents or damages. Adjust the sensitivity of these sensors based on your specific needs and the layout of your lawn.
- Alarm and PIN lock: Some models offer an alarm system and PIN lock feature to deter theft or unauthorized use of the robot lawnmower. Activate these features for added security and peace of mind.
By properly setting and adjusting the safety features, you can ensure a safe operating environment for your robot lawnmower and maintain a worry-free lawn maintenance experience.
Choosing the Mowing Schedule
One of the significant advantages of a robot lawnmower is the ability to automate the mowing process. You can conveniently set the mower to operate on a predetermined schedule, ensuring your lawn stays well-maintained without any effort on your part. Follow these steps to choose the ideal mowing schedule:
- Weekly schedule: Assess the growth rate of your grass and determine how frequently it needs to be cut. Most robot lawnmowers offer the flexibility to set a specific day or days of the week for mowing.
- Timing: Select a time slot during which the robot lawnmower can operate without causing any disturbances to your routine or disturbing your neighbors. Some models even offer a silent or quiet mode for mowing during nighttime hours.
- Rain sensors: If your robot lawnmower is equipped with rain sensors, take advantage of this feature. Rain sensors detect moisture and prevent the mower from operating during wet conditions, protecting both the lawn and the mower.
By programming a suitable mowing schedule, you can enjoy a consistently maintained lawn without the hassle of manual mowing.
Adjusting Cutting Height and Width
Robot lawnmowers offer the ability to adjust the cutting height and width to meet your lawn maintenance preferences. Depending on the desired length and appearance of your grass, you can customize these settings accordingly. Follow these guidelines to adjust the cutting height and width:
- Cutting height: Determine how long you want your grass to be and select the appropriate cutting height. Most robot lawnmowers offer a range of cutting height options, allowing you to choose the length that suits your preferences.
- Cutting width: Adjust the cutting width based on your lawn’s size and desired mowing time. A wider cutting width will cover more ground with each pass, reducing overall mowing time.
- Experiment and trial: In the beginning, it’s a good idea to experiment with different cutting height and width settings to find the combination that works best for your lawn. Observe the results and make adjustments as needed to achieve the desired look.
By fine-tuning the cutting height and width settings, you can ensure your robot lawnmower delivers a perfectly manicured lawn every time.
Testing and Fine-tuning
After completing the initial setup and programming, it’s crucial to test the robot lawnmower and make any necessary adjustments. Conducting an initial test run will allow you to identify any issues or areas that require fine-tuning. Here are some steps to help you through the testing and fine-tuning process.
Initial Test Run
Set your robot lawnmower on its charging station and initiate a test run. Observe the following during the test run:
- Navigation and route: Make sure the robot lawnmower follows the desired cutting area, avoiding obstacles and staying within the set boundaries.
- Cutting performance: Check that the blades effectively and evenly cut the grass, leaving a neatly manicured appearance.
- Battery and charging: Monitor the robot lawnmower’s battery life and confirm that it returns to the charging station when the battery is low for automatic recharging.
Adjustments and Troubleshooting
Based on the observations during the test run, make any necessary adjustments and troubleshoot any issues. Here are a few common adjustments and troubleshooting steps:
- Perimeter wire: If the robot lawnmower consistently strays outside the boundaries or crosses unwanted areas, readjust the perimeter wire or make changes to the wire layout.
- Obstacles and narrow passages: If the mower has difficulty navigating obstacles or narrow passages, consider modifying the path, trimming vegetation, or removing obstructions to provide a clearer route.
- Cutting performance: If the cutting performance is not satisfactory, ensure the blades are sharp and in good condition. Replace them if necessary according to the manufacturer’s instructions.
By conducting an initial test run and making adjustments as needed, you can fine-tune your robot lawnmower’s operation and ensure optimal performance.
Maintenance and Safety Considerations
While robot lawnmowers significantly reduce the effort involved in lawn maintenance, they still require regular maintenance and adherence to safety guidelines. Proper cleaning, inspection, and occasional blade replacement are essential to keep your robot lawnmower running smoothly and ensure its longevity.
et’s explore the maintenance and safety considerations to keep in mind.
Regular Cleaning and Inspection
Regular cleaning and inspection will help keep your robot lawnmower in top condition. Here’s what you should do:
- Debris removal: Check the robot lawnmower regularly for any debris, grass clippings, or dirt that may accumulate around the wheels, blades, or sensors. Use a brush or compressed air to remove the debris.
- Undercarriage cleaning: Clean the undercarriage area where the blades are located. Remove any grass or debris that may have collected, ensuring it does not obstruct the blades’ movement or affect cutting performance.
- Sensor inspection: Periodically inspect the sensors and make sure they are free from dust, dirt, or any obstructions. Clean the sensors as instructed by the manufacturer to maintain accurate navigation and obstacle detection.
By incorporating regular cleaning and inspection into your routine, you can prevent any potential issues and keep your robot lawnmower in optimal condition.
Blade Replacement
Over time, the blades of your robot lawnmower can become dull or damaged. It’s essential to replace them periodically to ensure efficient cutting and maintain the quality of your lawn. Here’s how to replace the blades:
- Safety precautions: Before replacing the blades, turn off the robot lawnmower and disconnect it from its power source. This will prevent any accidental starts or injuries.
- Blade removal: Follow the manufacturer’s instructions to safely remove the old blades. Typically, this involves removing a few screws or clips that secure the blades in place.
- New blade installation: Align and position the new blades correctly, following the manufacturer’s guidelines. Secure the blades using the provided screws or clips, making sure they are tightened properly.
- Test run: After installing the new blades, conduct a test run to ensure they are functioning correctly and cutting the grass smoothly.
By regularly monitoring your blades and replacing them as needed, you can maintain the cutting performance of your robot lawnmower and achieve a well-manicured lawn.
Safety Precautions
While robot lawnmowers are generally safe to use, it’s crucial to follow safety guidelines to prevent any accidents or injuries. Here are a few safety precautions to keep in mind:
- Read the manual: Familiarize yourself with the robot lawnmower’s user manual and follow the manufacturer’s instructions for safe and proper operation.
- Child and pet safety: Keep children and pets away from the operating area of the robot lawnmower to avoid any potential accidents.
- Storage precautions: When not in use, store the robot lawnmower in a safe and secure location to prevent unauthorized use or tampering.
- Extended absences: If you plan to be away from home for an extended period, consider deactivating the robot lawnmower or taking additional precautions to ensure its safe operation in your absence.
By prioritizing safety and adhering to the recommended guidelines, you can enjoy the benefits of a well-maintained lawn while ensuring the well-being of yourself, your family, and your pets.
Additional Features and Accessories
Robot lawnmowers come with a range of additional features and accessories that can enhance your lawn maintenance experience.
Let’s explore a few of these options:
Smartphone App Integration
Many robot lawnmowers offer smartphone app integration, allowing you to control and monitor the mower remotely. Through the app, you can adjust settings, initiate mowing sessions, view progress maps, receive maintenance notifications, and more. Take advantage of this feature for added convenience and control over your lawn maintenance.
Rain Sensors
Rain sensors can be a valuable addition to your robot lawnmower, especially if you live in an area with frequent or unpredictable rainfall. These sensors detect moisture and prevent the mower from operating during wet conditions. By integrating rain sensors into your setup, you can protect your lawn from damage caused by mowing in the rain and optimize the mower’s productivity.
Wi-Fi Connectivity
Some advanced robot lawnmower models offer Wi-Fi connectivity, allowing you to manage and control the mower using your home network. With Wi-Fi connectivity, you can control the mower using voice commands through virtual assistants, monitor its progress remotely, and receive real-time notifications and status updates. This feature adds an extra level of convenience and connectivity to your lawn maintenance routine.
Consider these additional features and accessories when selecting a robot lawnmower to enhance your overall lawn maintenance experience.
Troubleshooting Common Issues
While robot lawnmowers are designed to operate efficiently and autonomously, occasional issues may arise. Being aware of common problems and their solutions will help you troubleshoot any challenges you may face. Let’s explore a few common issues and their troubleshooting steps.
Robot Stuck or Not Returning to Base
If your robot lawnmower becomes stuck or fails to return to its charging station, try the following troubleshooting steps:
- Obstacle clearance: Clear any objects or debris that may be obstructing the robot lawnmower’s path.
- Wire connectivity: Ensure that the perimeter wire is properly connected, and there are no breaks, cuts, or loose connections along the wire.
- Realign the charging station: If the robot lawnmower is having trouble locating the charging station, double-check its alignment and ensure it is easily accessible.
- Battery charge: Verify that the robot lawnmower’s battery is adequately charged and not depleted. If the battery level is low, place the mower on the charging station manually to recharge.
Wire Connectivity Problems
Issues with the wire connectivity can affect the robot lawnmower’s navigation and cause it to stray from the desired cutting area. Follow these steps to address wire connectivity problems:
- Wire inspection: Check the entire length of the perimeter wire for any breaks, cuts, or damage. Repair or replace any damaged sections, ensuring a continuous and secure connection.
- Wire connections: Verify that all wire connections to the base station and any wire splices are secure and properly aligned. Reconnect or reposition any loose connections.
- Wire positioning: Check that the wire is laid firmly and remains at a consistent depth in its trenches. Adjust any sections if they have shifted or come loose.
- Signal interference: Avoid placing the charging station or wires near objects that may interfere with the robot lawnmower’s signal. These objects could include large metal structures, power lines, or underground utilities.
Battery and Power Issues
If your robot lawnmower experiences battery or power-related issues, consider the following troubleshooting steps:
- Battery charge: Confirm that the robot lawnmower’s battery is fully charged before initiating mowing sessions. If the battery consistently drains quickly, it may be time to replace it.
- Charging station connection: Make sure the robot lawnmower’s charging station is properly connected to the power source. Verify that the charging indicator light is on and that the station is working correctly.
- Battery connectors: Inspect the battery connectors on the robot lawnmower for any dirt, corrosion, or loose connections. Clean the connectors and ensure they are firmly attached to the battery.
- Battery replacement: If the battery is old or no longer holding a charge, consider replacing it with a new one. Follow the manufacturer’s instructions for battery replacement.
By following these troubleshooting steps, you can resolve common issues and ensure smooth operation of your robot lawnmower.
Conclusion
Congratulations on taking the first step towards enjoying a well-maintained lawn with ease! In this comprehensive guide, we have explored the factors to consider when choosing a robot lawnmower, the various types available, and budget and cost considerations.
We have also covered the essential steps involved in preparing your lawn for installation, setting up the charging station, installing the perimeter wire, programming and adjusting the settings, testing and fine-tuning, and maintaining your robot lawnmower with safety in mind.
Additionally, we discussed some additional features and accessories that can enhance your lawn maintenance experience. By carefully following these guidelines, you can confidently install and operate your robot lawnmower, freeing up your time for more enjoyable activities.
So, sit back, relax, and watch your robot lawnmower transform your lawn into a beautifully manicured oasis.
